Tips & Tricks
Homemade Jerky and Beef Chips: A Guide to Curing Success
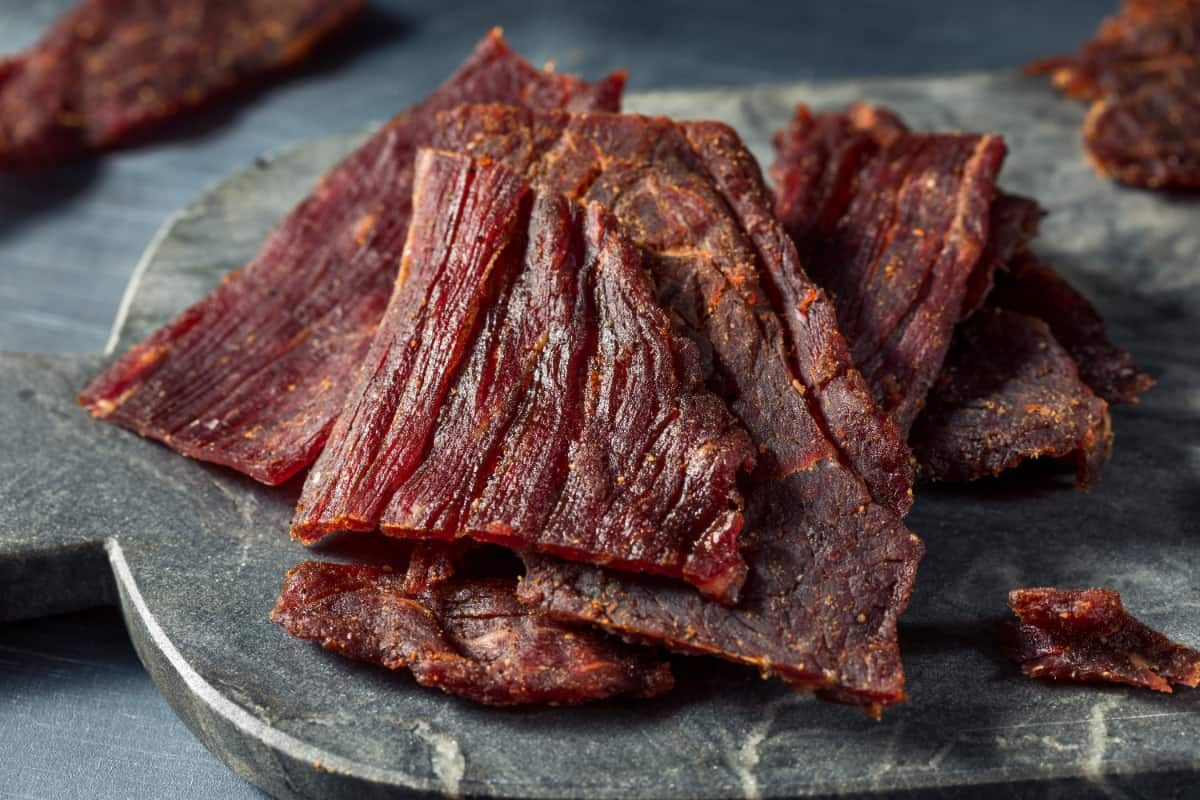
Making homemade jerky and beef chips is easy to do at home. These delicious, long-lasting, and easy-to-travel-with snacks will become your favorite kitchen projects.
There’s nothing quite as satisfying as homemade jerky or beef chips. They’re packed with flavor and immediately satisfy hunger. They’re also incredibly easy to make at home!
All you need are a few basic tools to transform seasoned meat into long-lasting portable snacks. This is done by curing and dehydrating cuts of meat until they become savory morsels.
If you want a new home recipe that will be a crowd favorite, follow our guide below. No matter if you’re a beginner or a master in the kitchen, you can make these fantastic treats at home.
All About Curing
These beef-based snacks get their shelf-life and flavor from a process called curing. This involves marinating cuts of meat in a mixture of spices or marinades and drying for several hours. The salts, heat, and dry conditions kill bacteria, tenderize, and preserve the cuts.
Traditional cures contain a mixture of salt, sugar, and sodium nitrate or nitrite. Besides the traditional cures, there are limitless mixtures you can make at home. You can even use your favorite liquid marinades.
According to the USDA, homemade jerky and cured beef chips can last up to 2 months. But to do it right, you’ll need to follow the important steps below.
Select the Right Cuts
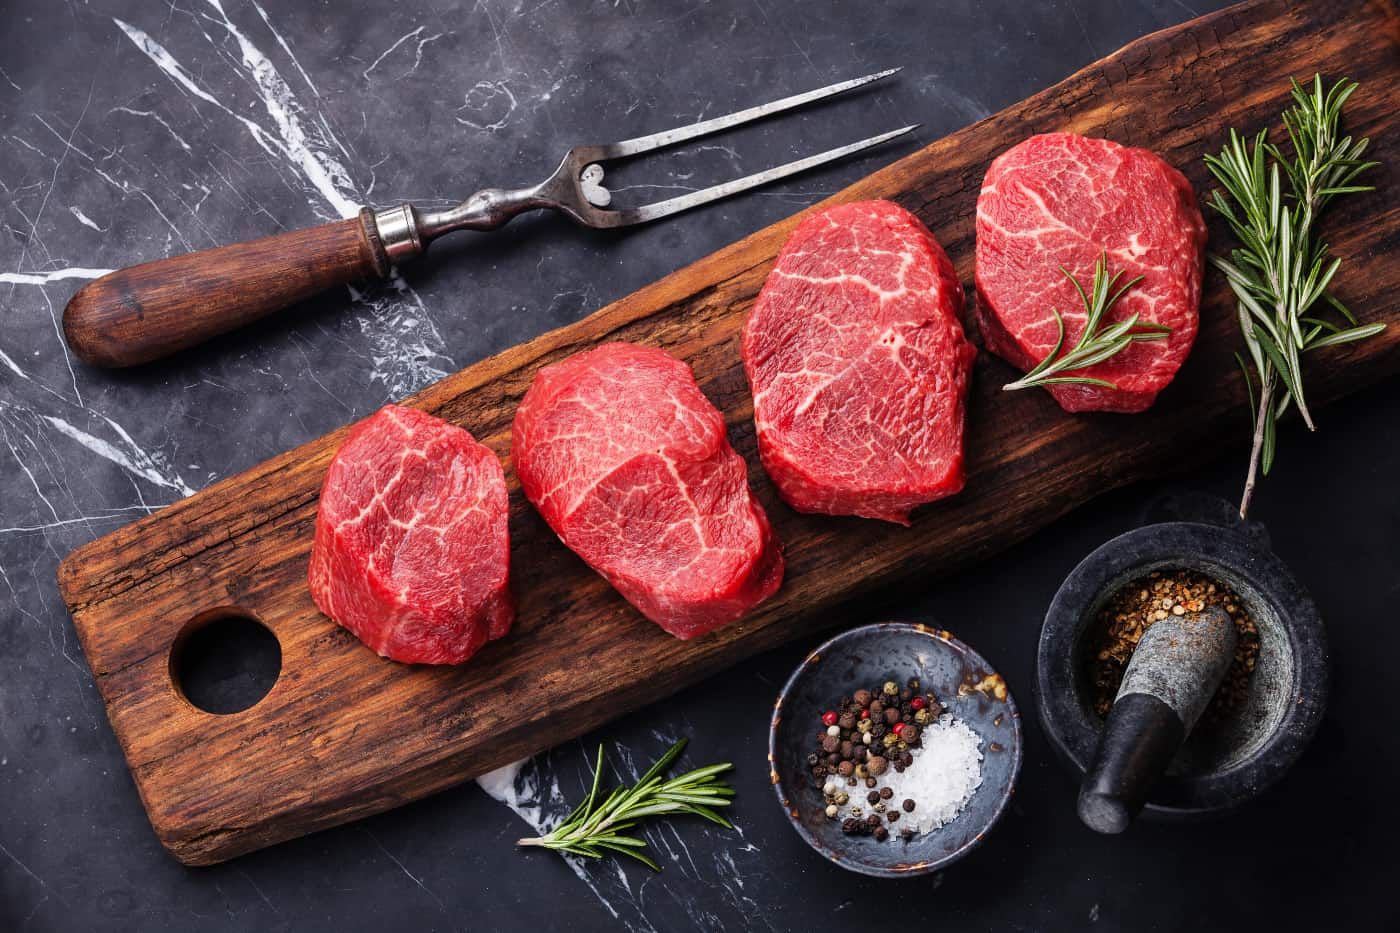
To get the right cure and tenderness, there are a few cuts that get the job done. For a tender jerky, try using eye of round, pectoral, and flank steak cuts.
Bottom round, top round, and sirloin tip cuts are less tender but absorb flavor really well. Other great cuts include California-style tri-tip and brisket.
When in doubt, ask our team of experts at The Flying Butcher. They will find you the perfect cuts for curing and drying. They’ll trim and slice them to perfection and give you tips on how to get the best flavor and texture.
Prepare Your Cure
The next step is to prepare your cure. This is where your creativity comes in. As mentioned before, most cures are a mixture of sodium nitrate or nitrite, salt, sugar, and other spices.
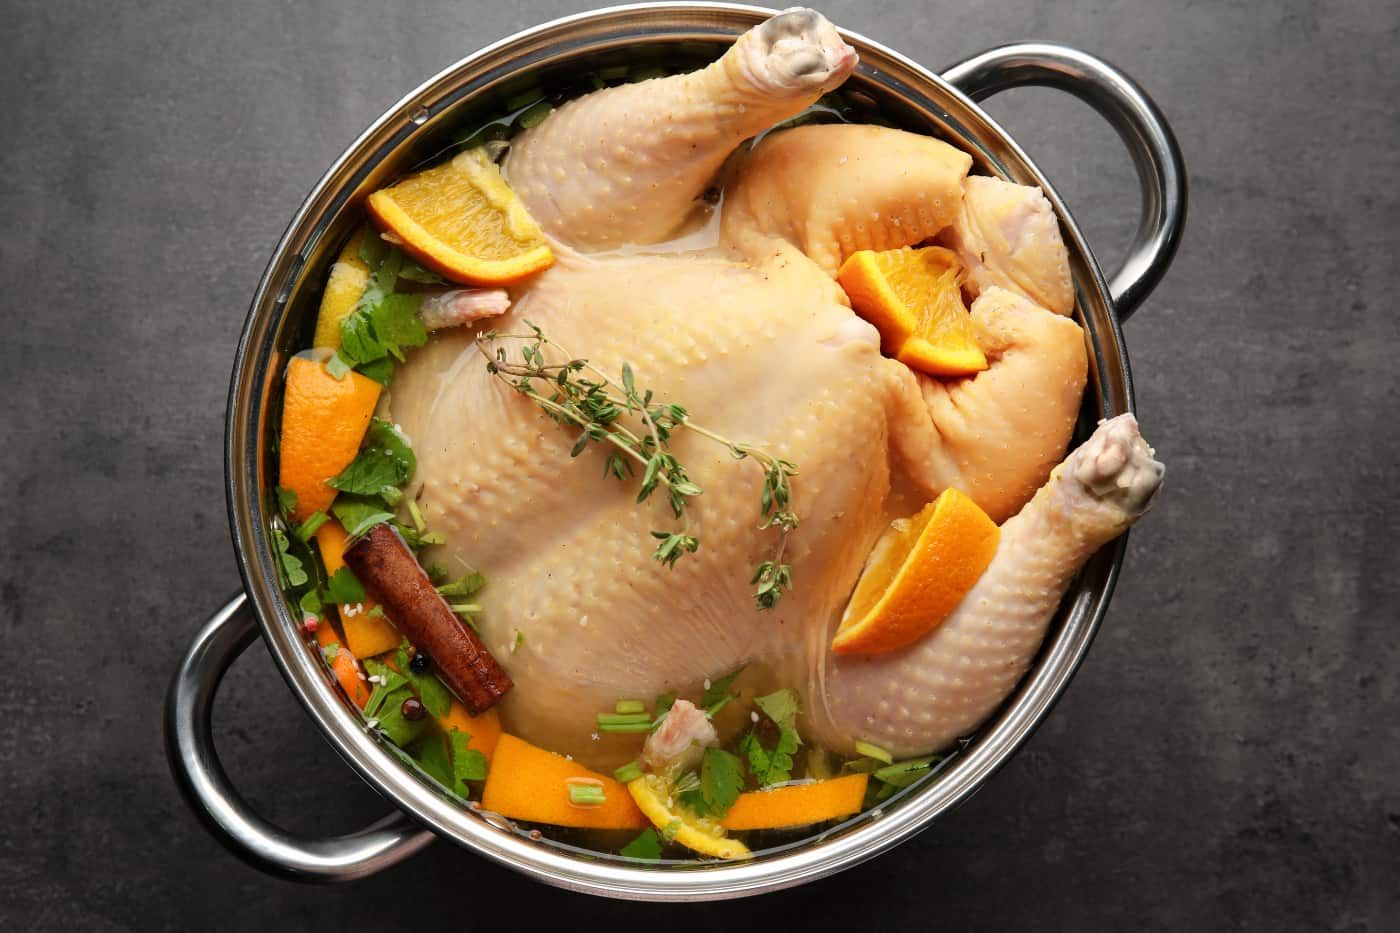
Marinate Your Meat
Once you have your cure ready, you’ll marinate your meat for up to 12 hours. This is especially important for making jerky and beef chips because the cooking temperature is usually lower than 165° F.
Time for Drying!
Strain your marinade and remove excess moisture from your meat with a paper towel. Place the strips down on a tray and space them apart so plenty of air flows in between.
Place your tray in the dehydrator, smoker, or oven for 4 to 6 hours. Smokers can take up to 9 hours.
To see if it’s done, take a piece out, let it cool, and bend it in half. If you can see the tiny white fibers separate, it’s done.
How to Enhance the Flavor
Besides the basic curing salts, the sky’s the limit to what you can add to the marinade. If you’re not smoking your meat, try adding liquid smoke. Soy sauce and pineapple juice also make a great combination of flavors.
For the ultimate New England combination, try using local maple syrup, liquid smoke, and Worcester sauce. Or blend roasted chili peppers and onions, garlic, lime juice, garlic powder, and cumin for the ultimate Mexican-style seasoning.
Longer marinades will give the meat even more flavor. You can marinate your meat for up to 24 hours in the fridge to infuse the seasoning into every bite. At The Flying Butcher, we have incredible pre-made seasonings for you to try such as the Smoke Show All Purpose Seasoning.
Equipment You’ll Need
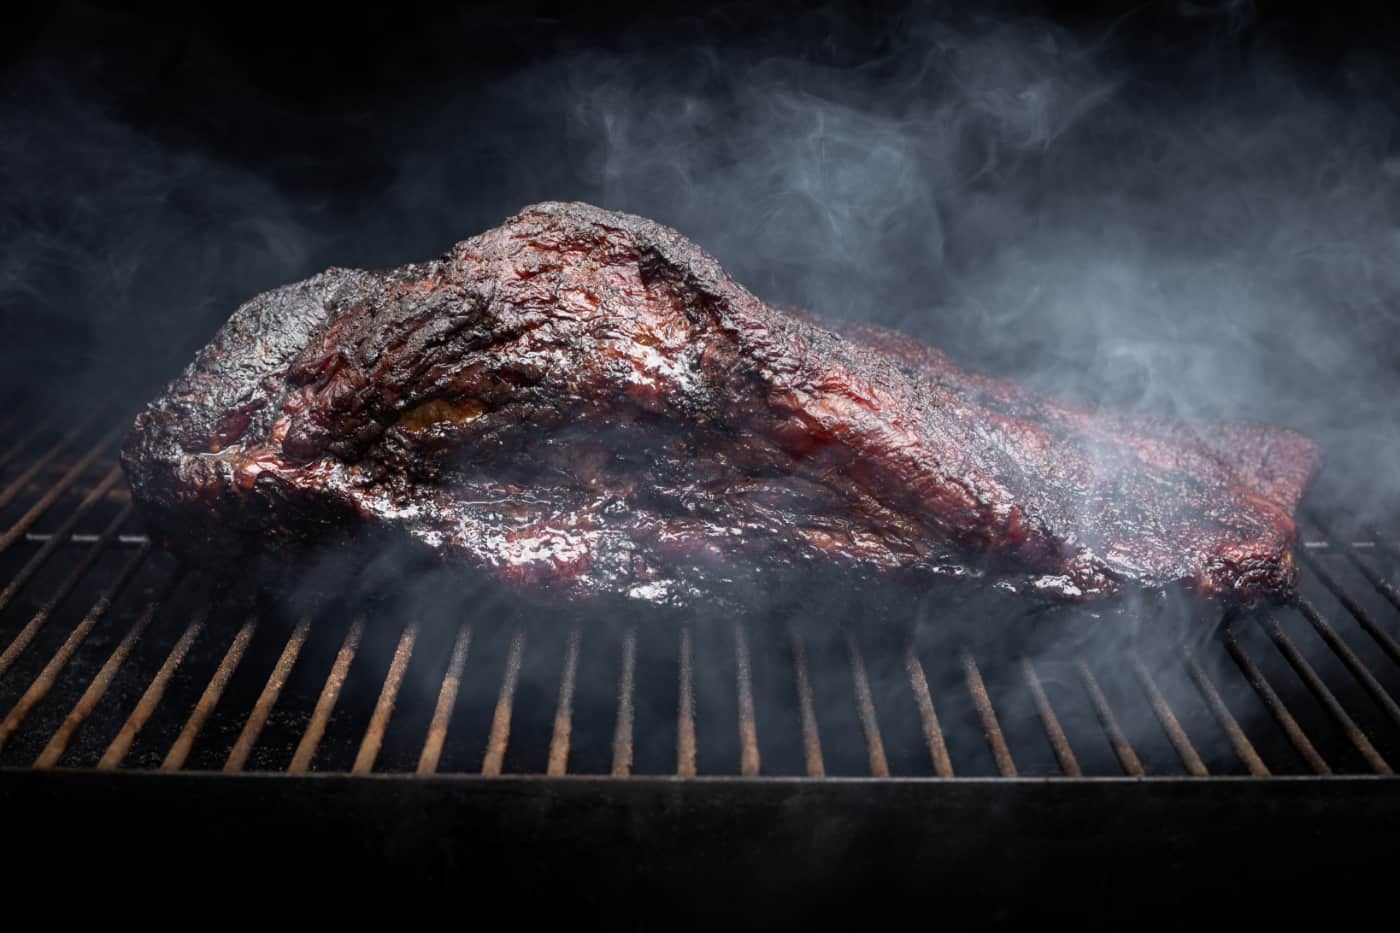
The only tool you’ll need is a dehydrator, oven, or smoker. Dehydrators are the quickest option. Smokers take the longest but give the smokiest flavor.
The most important element, especially if you choose not to use sodium nitrate in your cure, is heat. Make sure your oven or smoker cooks the meat up to 160° F to kill bacteria. Dehydrators should be around 135° to 140° F throughout the drying process.
Air drying is another option, but it’s less safe. You’ll need to live in a dry area and heavily season your meat to preserve it. Unless you’re properly trained, we don’t recommend doing it at home.
Differences Between Jerky and Beef Chips
Jerky and beef chips may come from the same ingredients, but their texture is quite different. Beef chips are thin and crispy while jerky is chewy.
Both are full of flavor and made from lean cuts of meat. Ask your local butcher to cut your meat into either one. They’ll have recommendations for cooking times and marinades so you get the perfect combination of flavors.
How to Cure Safely at Home
Curing and drying at home can be safe, as long as you follow some basic protocols. First, always buy your meat from a reputable local butcher like The Flying Butcher. They’ll help you select the best cuts for curing and drying.
Next, handle your meat away from kitchen surfaces. Thoroughly wash your hands with soap and water after and before handling the meat. Marinate in the fridge at or below 40° F.
After marinating, dehydrate your chips or jerky at temperatures between 130° and 140° F for 4 to 6 hours. Ovens and smokers should be closer to 160° F.
Best Ways to Store Jerky and Beef Chips
After making your beef chips or jerky, it’s time to store them away safely. Because they’re dry, you’ll need to keep them away from moisture.
Glass jars are a great place to store them. You can also use air-tight plastic bags and vacuum-sealed containers.
Keep them away from the sun, moisture, and air. If you preserve them correctly, your homemade jerky and beef chips will last for up to 2 months.
Best Uses for Homemade Jerky and Beef Chips
There are plenty of uses for your homemade jerky or beef chips. These tasty and protein-packed snacks are versatile in many recipes. Try them in salads or soups such as New England clam chowder.
These homemade treats also make fantastic on-the-go snacks. Bring them hiking or camping to share with friends or enjoy on the trail.
Try giving your homemade treats away as gifts at parties. They also make great stocking stuffers during the holidays.

