Tips & Tricks
How to Brine The Perfect Thanksgiving Turkey
Do you want a juicy and flavorful turkey for your Thanksgiving meal this year? Brining your turkey before roasting it is the key to the ultimate Thanksgiving turkey.
Brining may seem like a technique reserved for fine-dining restaurants. However, humans have brined our meat since ancient times. This technique was originally used for preserving food before the days of refrigeration, but we soon found out how delicious it was and kept the tradition.
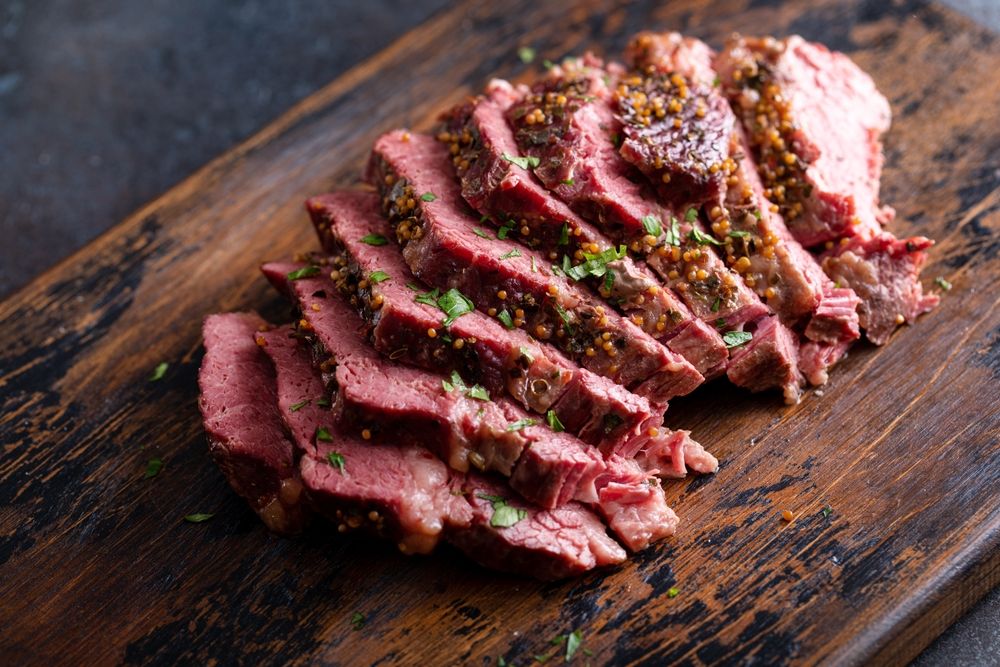
Brining gave us some of our most beloved comfort foods, such as corned beef and pastrami. Today, many chefs and home cooks swear by this ancient cooking method and you should too. Continue reading below to learn how to brine the perfect Thanksgiving turkey.
What Does it Mean to Brine a Turkey?
Brining a turkey is a simple way to lock in moisture and seal in flavor. At its simplest, brining a turkey involves making a salt-water solution, or brine, and letting your turkey bath in it for 12 to 24 hours before cooking.
On top of making your turkey even juicier, you’ll seal in tons of flavor deep inside the meat. When you brine your turkey, you won’t have to worry about dry, flavorless Thanksgiving turkey again.
Although salt is the key ingredient in brine, you can add many other seasonings. Herbs and spices are the most common. These extra seasonings will transform the flavor of your turkey.
The Science Behind Brining
All living things, including animals, plants, and fungi, are made up of cells with semi-permeable membranes. These are thin layers in our body’s cells that allow certain molecules, like water and salt, to pass through them more easily than others.
According to science, brining works by osmosis, or the diffusion of water through a living cell’s semi-permeable membrane. The same thing happens in popular foods, like pickles and some canned foods, a process called pickling.
A saltwater solution, in this case, brine, passes through the cell membranes of your turkey. When this happens, the saltwater brine diffuses and balances with the juices inside your turkey, creating an explosion of flavor deep inside the meat.
Brining also improves your meat’s texture. This happens because the salt in a brine solution tenderizes the proteins in your turkey. This leaves you with tender, juicy, and flavorful turkey that will wow your Thanksgiving dinner guests.
How to Brine Your Turkey Like a Pro
Don’t be intimidated. Brining your turkey is a straightforward process that shouldn’t stress you out. Once you do it for the first time, your turkey will be juicy and flavorful every time. Below is a step-by-step guide to bringing your turkey like a pro.
Step 1: Make Your Brine
To make the perfect brine, combine one cup of salt and one cup of sugar with one gallon of water. Dissolve the ingredients until you’re left with a saltwater solution.
You can add other seasonings like herbs, spices, or fruit to the brine. Some of the best flavorings for a Thanksgiving turkey include sage, cinnamon, cardamom, cranberries, and citrus fruits.
If you need help making the perfect brine for your turkey feast, don’t worry. At The Flying Butcher, we’ve got you covered. Our meat experts will help you find the right combination of salts and spices to make an incredible brine.
Step 2: Find the Right Container
Depending on your turkey’s size, you need the right-sized container to hold it submerged in brine. You can use a stainless steel pot or any large food-grade container.
Step 3: Prepare Your Turkey
First, unwrap your turkey. Take out the giblets and save them for other recipes. To avoid cross-contamination, do not wash your turkey.
Step 4: Submerge Your Turkey
Place your turkey breast down in your container. Add your brine mixture until the liquid completely covers the bird.
Step 5: Keep Your Turkey Nice and Cold
To prevent bacteria from ruining your dinner, keep your turkey in the refrigerator or cooler until it’s time to cook. Add bags of ice on top of your container to keep the turkey and brine cold. You may have to replace the ice as it melts.
Step 6: Roast Your Turkey
After 12 to 24 hours submerged in brine, your turkey is ready for the oven. Take your turkey out of its brine bath and pat it dry with a clean paper towel.
Next, let your turkey rest for around 30 minutes to fully dry. Set your oven to the right temperature and place your turkey on a deep roasting pan covered in your favorite aromatics.
Step 7: Wash all Surfaces
Like other poultry, raw turkey can contain harmful bacteria. After preparing your brined turkey, make sure you clean all your kitchen surfaces well. This will keep you and your family safe before the holiday feast.
Why Whole Turkey Roast Alternatives Work the Best
Brining may improve cooking results, but it’s not your only tool for making a great Thanksgiving turkey. For optimal texture and even cooking, consider spatchcocking your turkey.
Spatchcocking, also known as butterflying, is when you remove the backbone of your bird so it can lay flat. By splaying your turkey out evenly, you’ll get a more even roast.
Brining a spatchcocked turkey is just as simple as brining a whole turkey. Follow the same steps above and you’ll get incredible results, guaranteed.
If you’re pressed on time, ask one of our professional butchers to spatchcock your turkey. That way, you’ll have plenty of time to craft your perfect Thanksgiving turkey before the big event.
Brining Your Turkey for the Ultimate Feast
With a little time and food science, you can say goodbye to dry and flavorless turkey forever. Simply set aside 12 to 24 hours to brine your turkey before roasting. You’ll get results that truly make a difference.
For an even better-tasting turkey, try stepping it up another notch by spatchcocking your turkey before brining it. This will ensure you get an evenly cooked and seasoned bird every time.
Visit your local butcher today to get your pre-season turkey. At The Flying Butcher, we’ve got all-natural premium turkeys that will make the perfect main course for your Thanksgiving dinner.


